


Integrate Multiple Zoom Accounts to your Business
Hi there! I’m Alex. You might know me as ‘Frontdesk Alex’. The folks at Omnify sure do write a lot about me. This time, I’m writing to let you in on a trade secret!
But, before that, a little backstory.
Our facility conducts a lot of classes over Zoom. New normal and all that, you know. But with only one zoom account, it was getting difficult. We had to line up one class after another and trainers had to wait to get access to Zoom. It was unmanageable!
Well, not anymore. With this little ‘secret’, we managed to flip it around!
What is this secret you ask? Omnify’s latest product update is the secret! With this update, we can now integrate Omnify with multiple Zoom accounts. Now, each trainer can add their own zoom account and conduct online classes with that account. Trainers get greater control over their schedule, there is no clashing of online classes, offering more power and customizability to online classes! We have even added extra online classes to our schedule!
Trust me, you need to enable this too! Watch this quick video to know how you can enable multiple Zoom accounts:
Read to know how you can enable multiple Zoom accounts:
Step 1: Adding your first Zoom account
*Skip this step if you have already integrated your account with Zoom
To connect your first Zoom account, follow these steps:
- Head over to ‘Settings’
- Go to ‘Integrations’ under Business Settings
- Select Zoom integration, and then click on "Add Zoom Account".
- If you are already logged in, then you will be connected instantly. If not, you will be redirected to Zoom where you will have to log in. That’s it! Your account will be successfully integrated with Zoom.
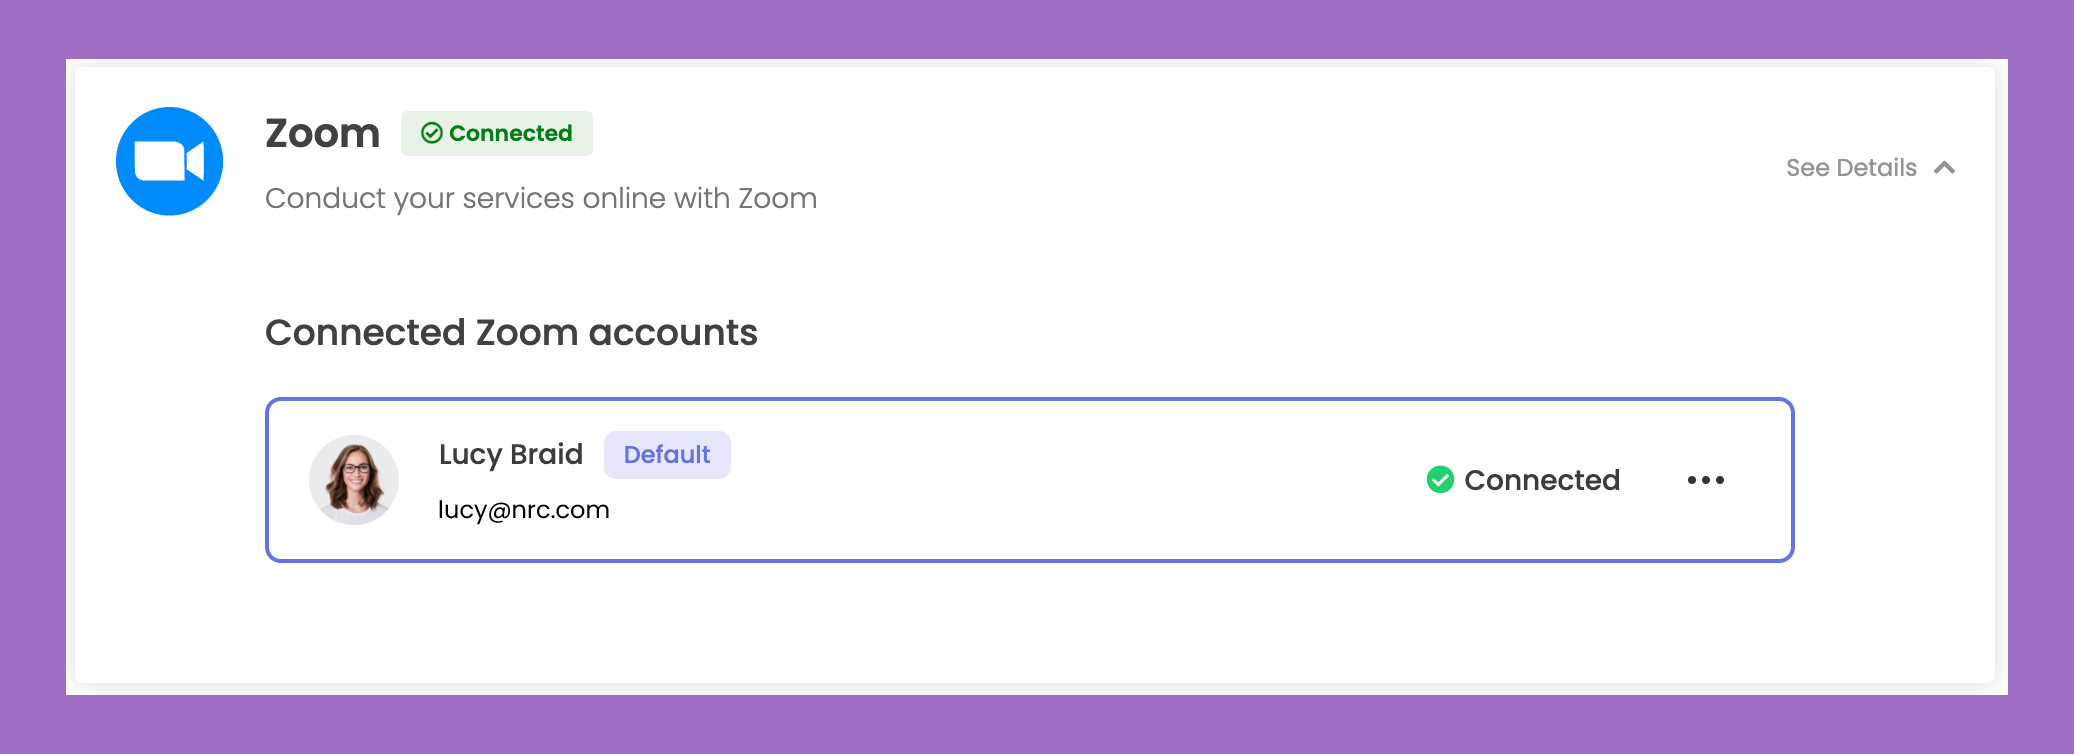
PS: the first Zoom account you connect will be the default Zoom link. This account will be pre-selected for all the classes you create. Although, this can be changed by the admin at any time.
Step 2: Adding multiple Zoom accounts
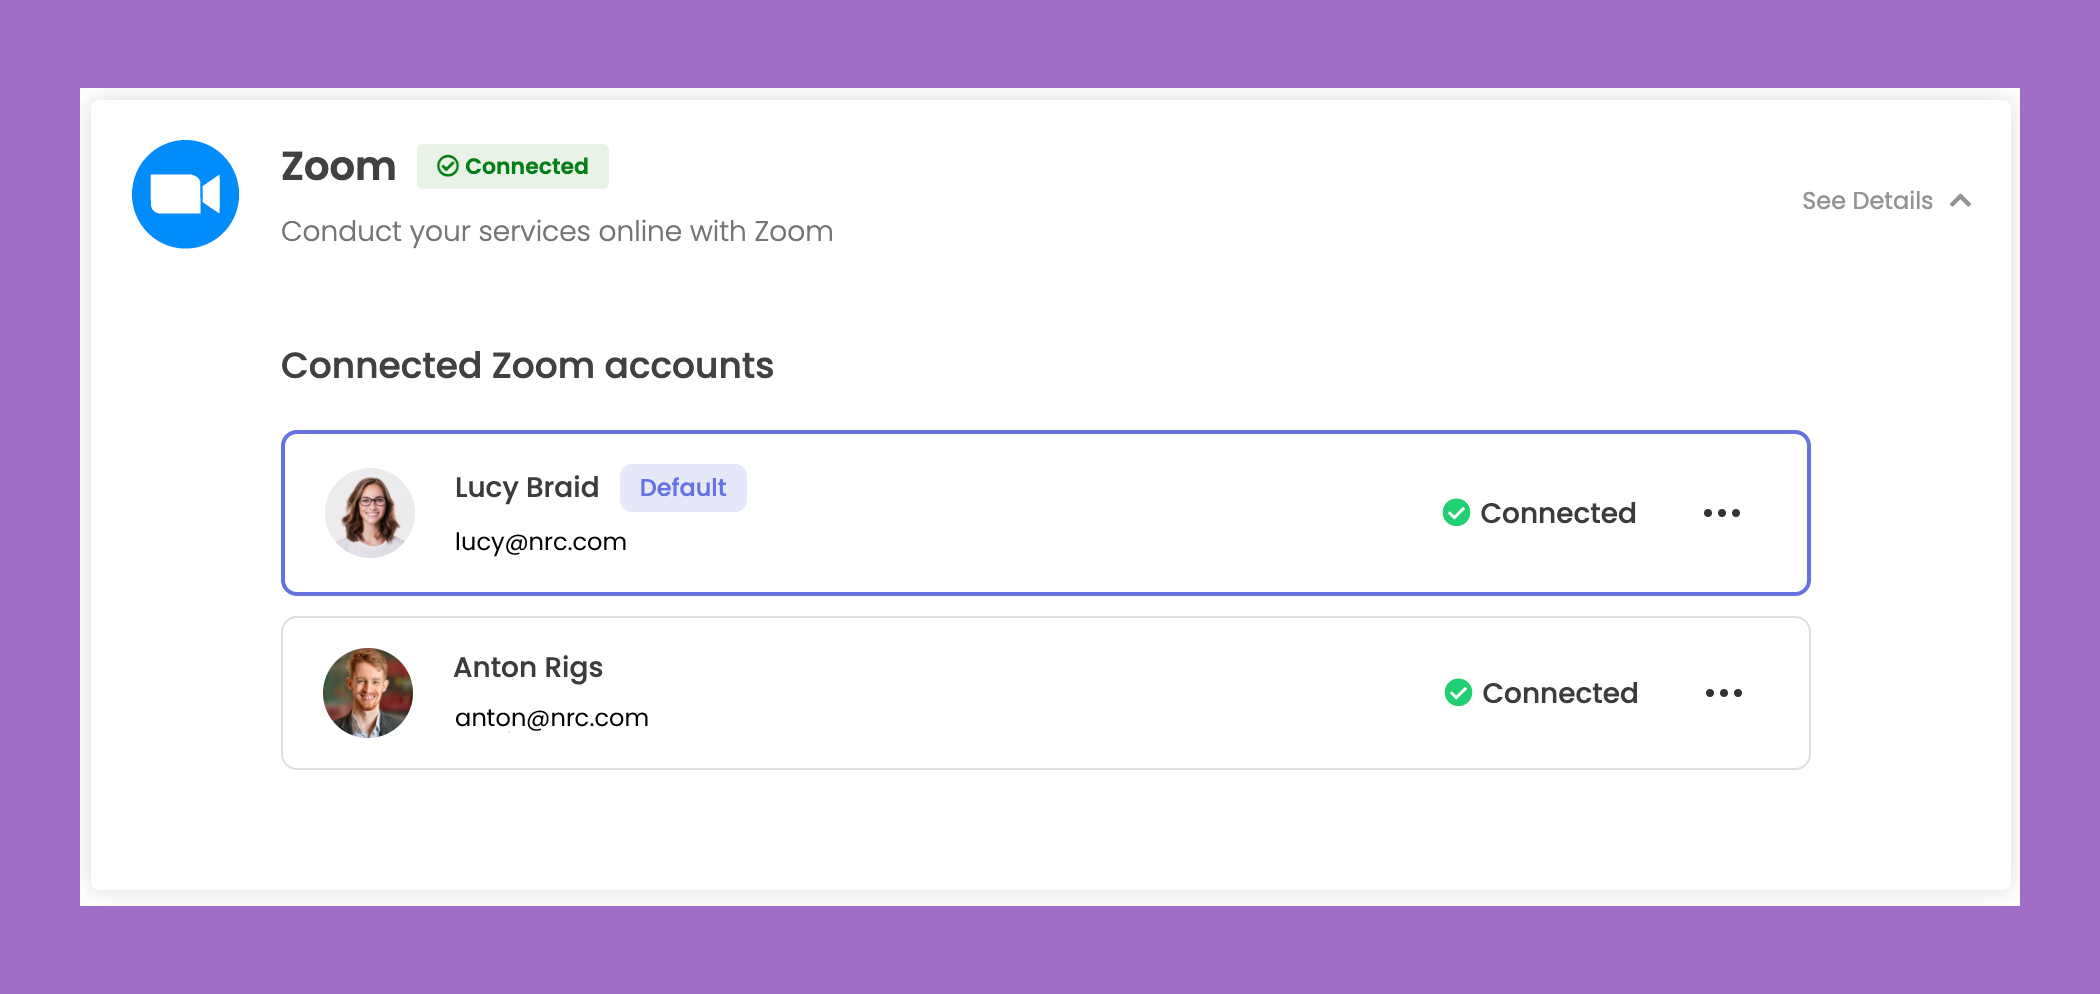
With the new update, each of your trainers will be able to connect their own Zoom accounts.
This can only be done by the trainer themselves, not the admin. The trainer will have to log in to their Omnify account and follow the same steps as above.
- Head over to ‘Settings’
- Go to ‘Integrations’ under Business Settings
- Click on Zoom
- Log in to your Zoom account and your account will be successfully integrated with Zoom.
Every trainer can connect their own Zoom account in the system. The admin can manage all these connections.
Step 3: Creating classes with multiple Zoom accounts
Once each trainer has connected their own Zoom account, they can link specific classes to specific Zoom accounts.
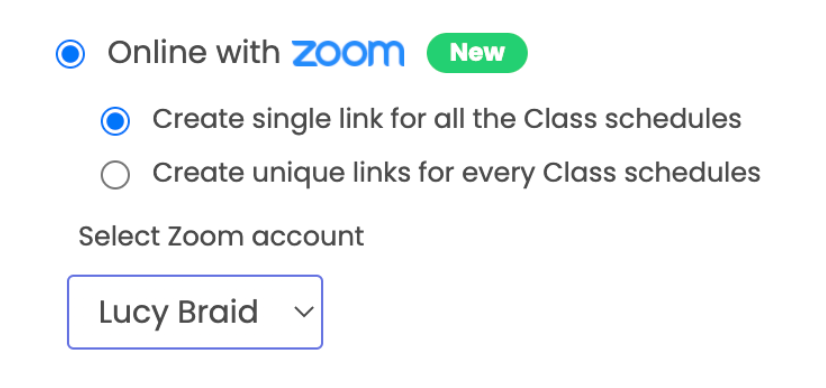
To do that, simply open the Class editor, select ‘Online with Zoom’ under Location. Here, you can choose to have the same Zoom link for every class schedule or create unique links. Then, select the appropriate Zoom account from the dropdown. It’s as simple as that!
Managing Zoom accounts, as admin
As the admin, you will have greater control over the connected Zoom accounts. When you hover over the three dots next to each linked Zoom account, you will get an option to Make an account default, disconnect the account or explore additional settings.
You can thank me later.
Frontdesk Alex
This new product update helps integrate & manage multiple zoom accounts with Omnify to add greater power and customizability to your online classes!