


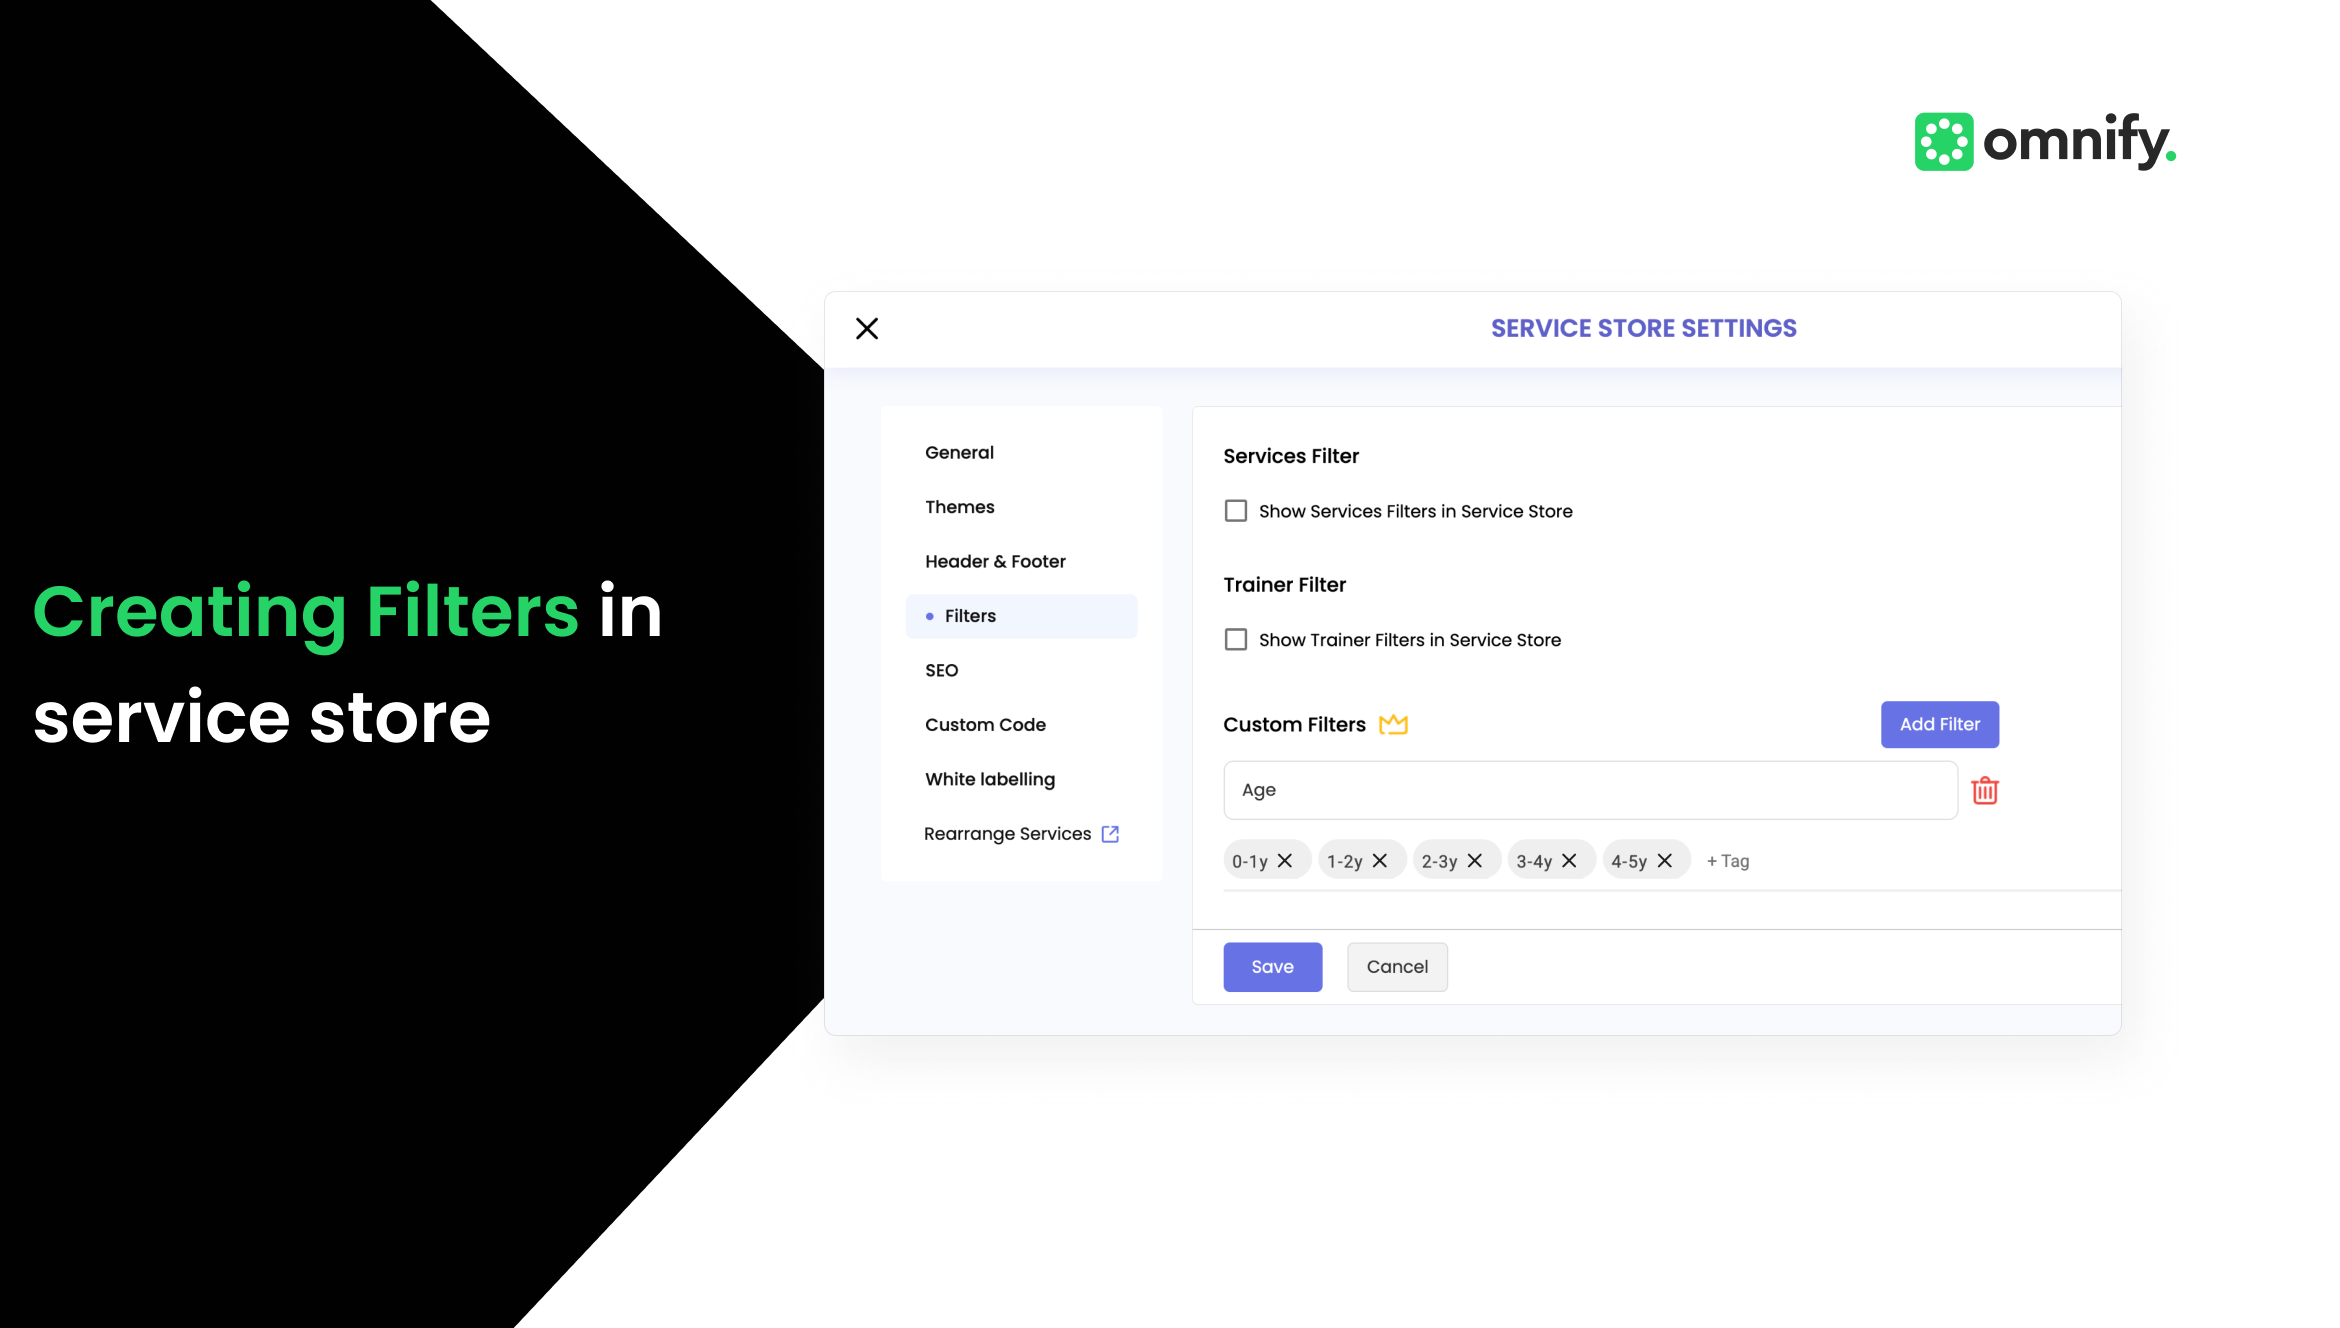
Enhance Service Navigation with Custom Filters
As your businesses scale and expand their service offerings, it becomes essential to offer a streamlined browsing experience for customers. Adding filters like age or specific categories not only enhances the user experience but also ensures clients can navigate and find the right services without frustration.
This update adds value by making stores more intuitive and easier to explore, leading to higher conversion rates and customer satisfaction.
What’s New
Introducing custom filters for the Omnify service store! This feature enables businesses to create and apply custom filters, such as age groups, service categories, or other parameters to help customers quickly find relevant offerings. Whether it's for camps, classes, or events, businesses can now better organize services and ensure that users easily discover what they are looking for.
Let’s see how Custom Filters can be of help to your business
🔍Improved Service Discovery: Helps customers find exactly what they need by narrowing down choices based on specific filters such as age, category, or event type.
🗂️Storefront Organization: Streamlines the presentation of services, ensuring businesses with a wide range of offerings can effectively manage and showcase them.
➕Better Conversion Rates: By improving navigation and allowing customers to filter out irrelevant services, businesses can expect increased conversions and bookings.
📢Scalable Solution: As businesses add more services, this feature automatically integrates new offerings into the filtering system, saving time and effort.
How it Works?
Here's a step-by-step guide to creating and managing filters for your service store:
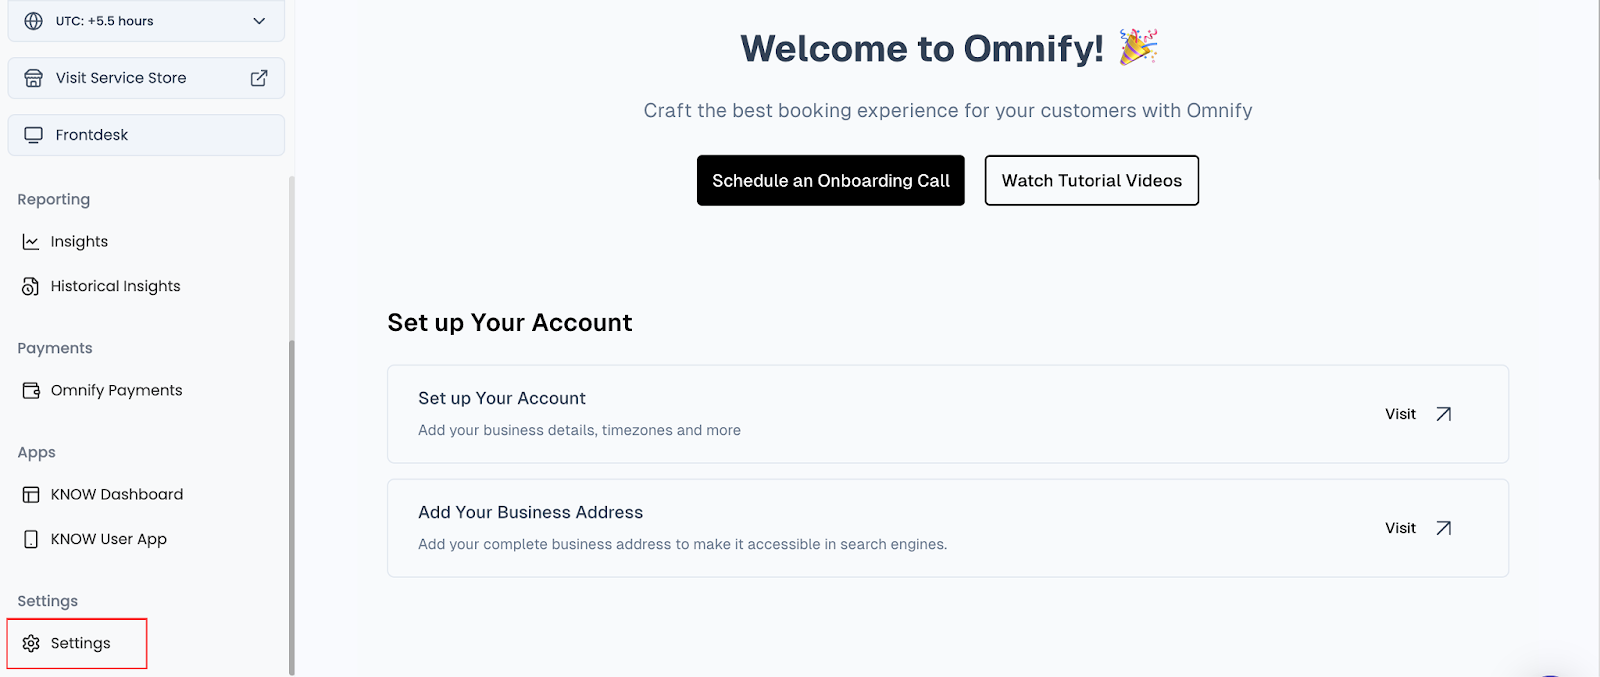
1. Navigate to Settings: In the dashboard, go to the Settings section.
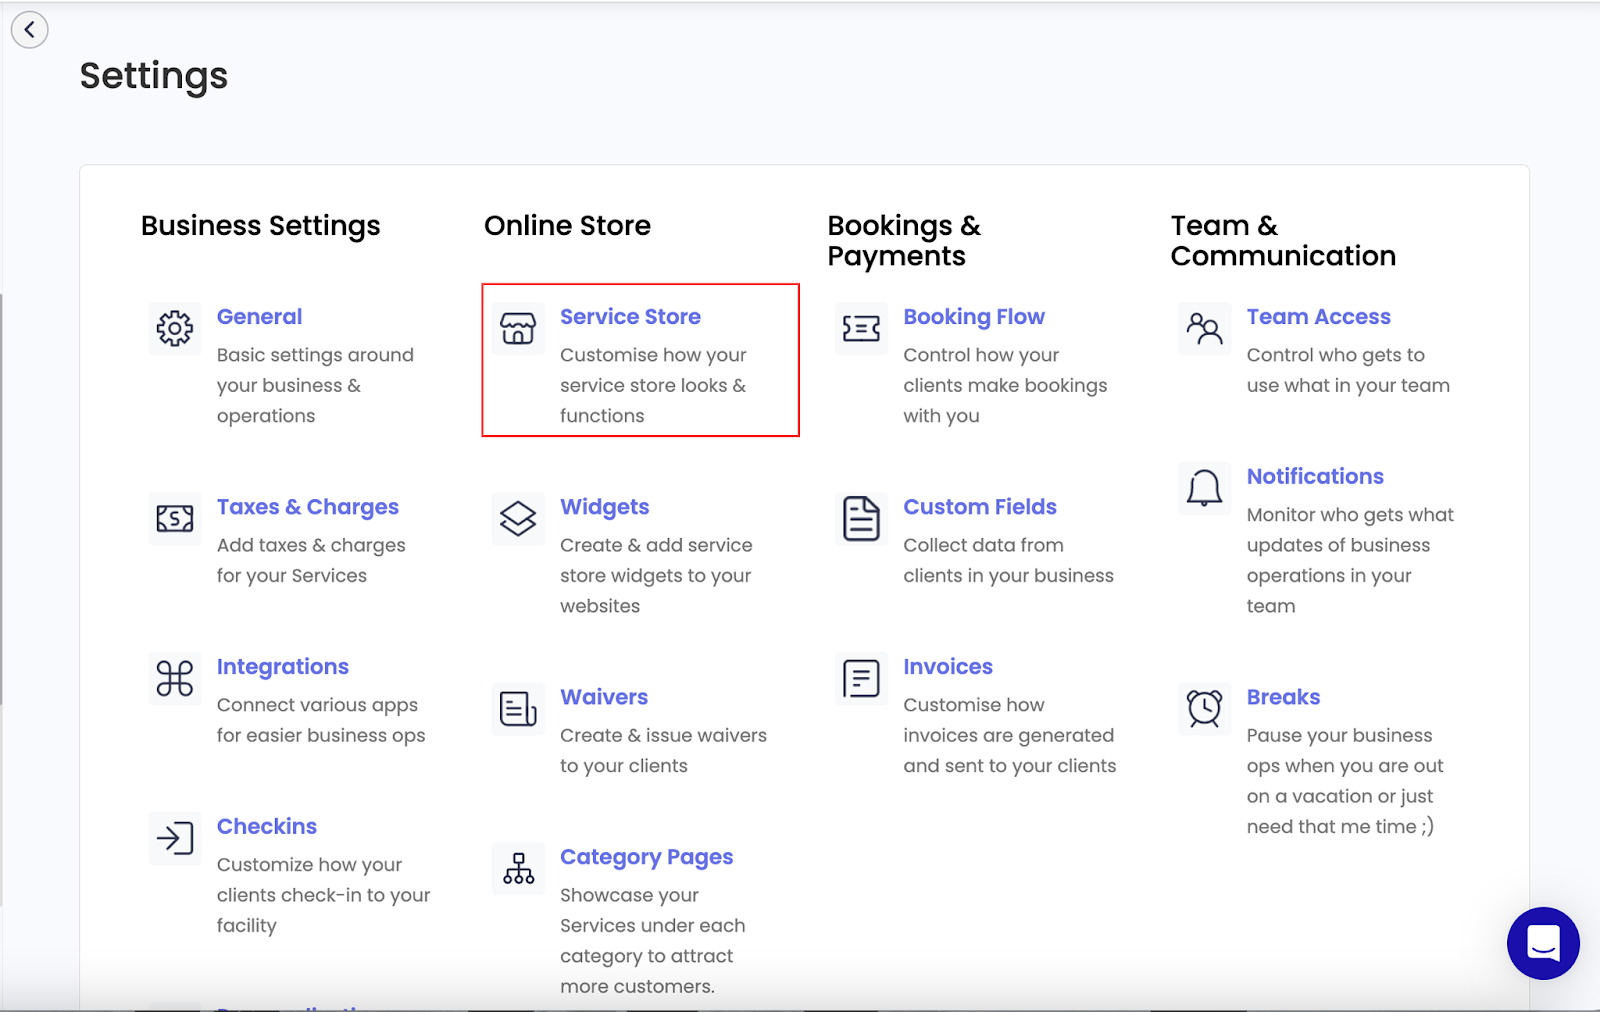
2. Access Service Store Settings: Head to the Service Store tab in the settings menu.
3.Create Filters:
- Go to the Filters section, where you can manage existing filters or create new ones.
- Choose to create either a custom filter or use one of the default options.
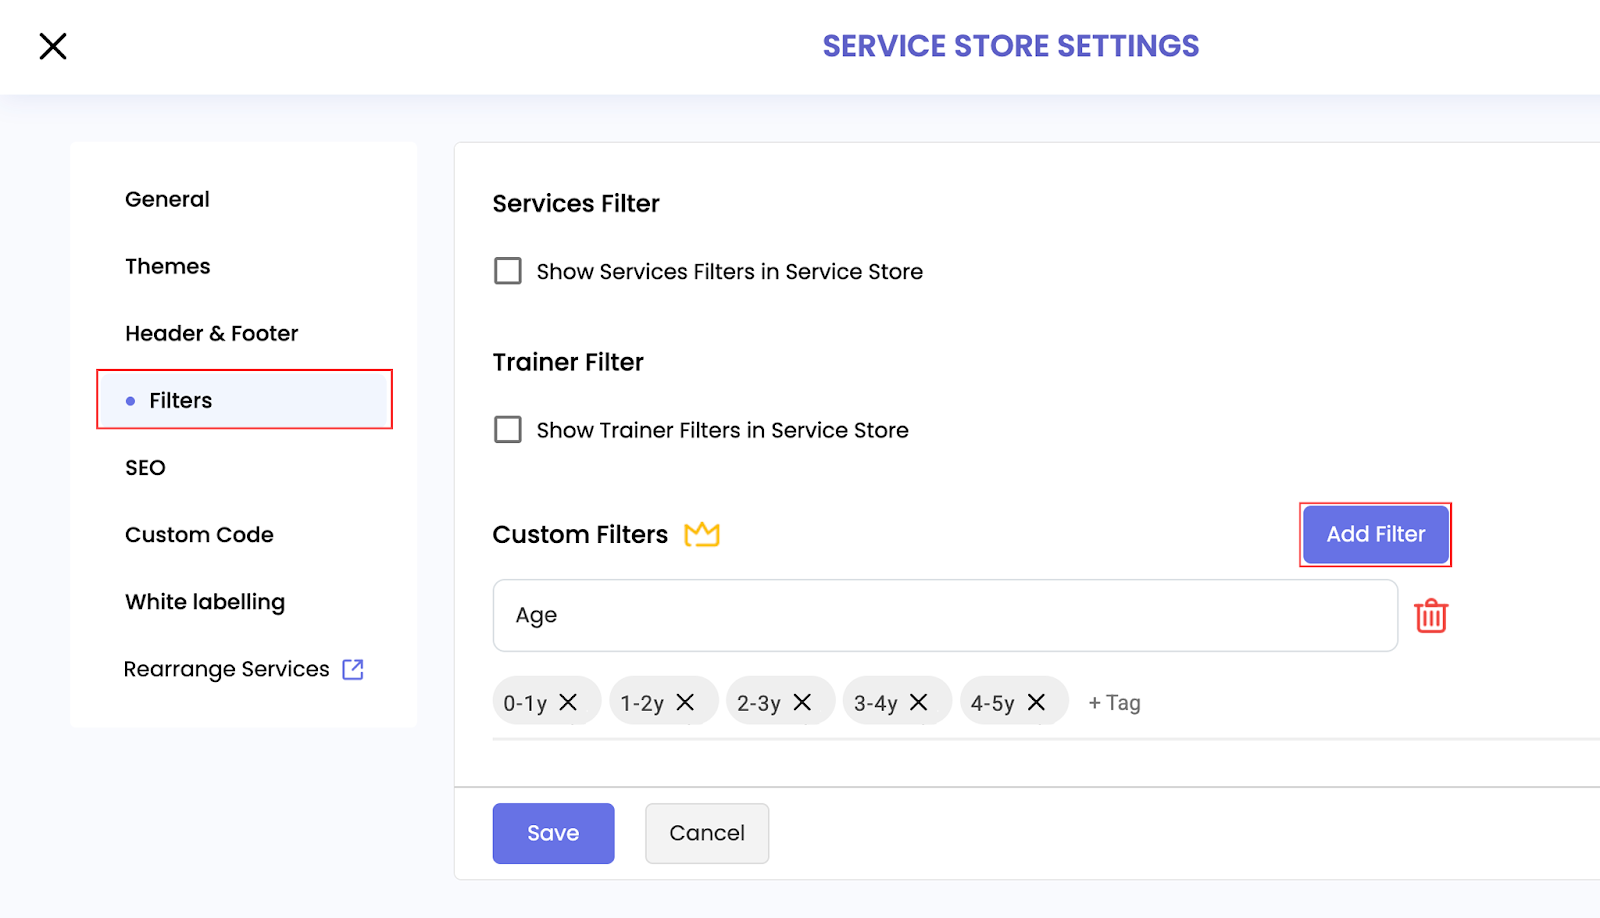
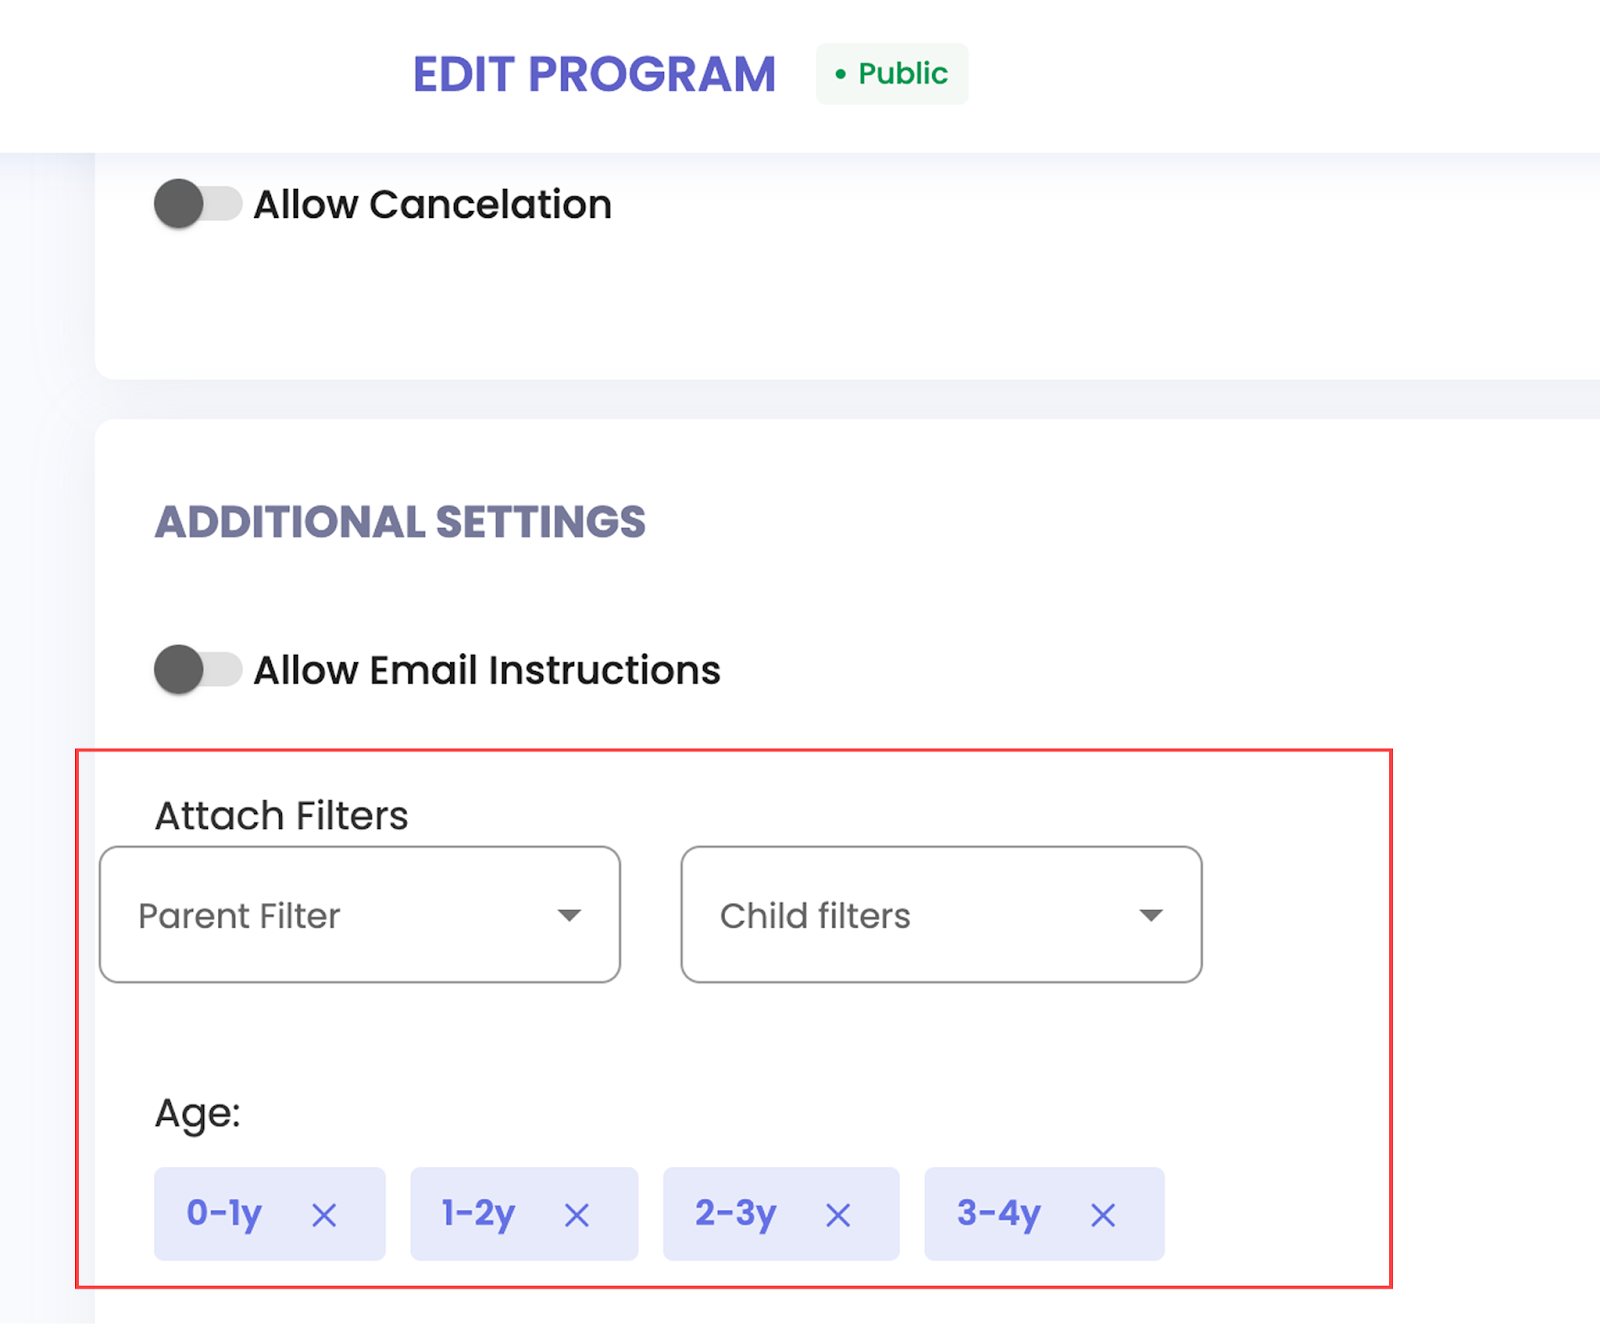
4.Set Up Parent and Child Filters:
- Define a Parent Filter (e.g., "Age Group").
- Add Child Filters under the parent filter (e.g., “0-1 years,” “2-3 years”).
5.Assign Filters to Services: When creating or editing a service, assign the relevant parent and child filters to the service for easy categorization.
6.Save & Publish: After adding filters to all relevant services, save and publish the changes. These filters will now be visible on the storefront for customers to use.
Example Use Case
A children’s activity center offers services for various age groups ranging from infants to toddlers. By applying age-based filters (e.g., 0-1 years, 1-2 years, 2-3 years), parents can easily find classes or camps suited to their child’s age group. This prevents confusion and ensures the customer gets the appropriate service for their child without sifting through irrelevant options.
Custom Filters just makes organizing your services a breeze, helping customers quickly find what they need and lifting your business efficiency!
Login now to explore Custom Filters and enhance your service store today!
Enhance user experience and navigation with our latest update. Introducing custom filters designed to improve service discovery and accessibility.